
1. How to Create an App from Scratch in 9 Easy Steps
9 Simple Steps to Build a Mobile App from Scratch
You have an amazing mobile app concept. You recognize there is a demand for it, and your users are waiting. You believe it has the potential to be profitable. But the question is—how do you go about creating that idea into an actual, operational app? What are the steps to build an app from scratch? And how much does it cost?
Being a high-level app development company, these are some of the most frequently asked questions we receive from our clients over and over again.
- I have an app idea—where do I begin?
- What goes into creating a mobile app?
- How do you take an app from just an idea to actually launching it?
- What are the essential things you need to build a successful app?
- How do you actually write and develop a mobile app?
- What do you need to create an app for smartphones?
- What’s the process for building an app completely from scratch?
With years of experience serving more than 500 clients, we've learned the ins and outs of mobile app development . That's why we've created this detailed, step-by-step guide to assist you in designing, developing, and launching your mobile app successfully. Ready to make your idea a reality? Let's take a look at the essential steps to create an app from the ground up.
9 Simple Steps to Develop a Mobile App
Use these nine critical steps to effectively create your own custom mobile app
| Step | Phase Title | What It Involves |
|---|---|---|
| 1 | Define Your App's Purpose | Figure out what your app is meant to do and who it's for. |
| 2 | Outline Key Features | List and rank the main functionalities according to user requirements and technical viability. |
| 3 | Analyze the Competition | Research comparable apps to identify gaps, strengths, and areas for your differentiator. |
| 4 | Create Wireframes | Sketch out the layout and user flow of the app to see the interface and experience come to life. |
| 5 | Select a Development Plan | Determine in-house, outsourced to an agency, or a hybrid solution. |
| 6 | Begin Development | Begin development for Android, iOS, or both—focusing on features, UI/UX design, and backend integrations. |
| 7 | Test Extensively | Run manual or automated tests to find bugs and improve the app's performance and user experience. |
| 8 | Launch Your App | Make sure your app is ready for launch on the App Store or Play Store by polishing up your listings. |
| 9 | Promote & Market App | Create a marketing strategy that leverages multiple channels to effectively engage and reach your target audience. |

Step 1: Start with "Why": Define the Purpose of Your App
Developing a mobile app requires time, effort, and resources, so it's one of the most important steps in the development process to get crystal clear on why you're doing it.
If your goals are unclear, chances are, the end result won't be either.
The first thing you need to do when developing your app is figure out its main purpose. Consider successful apps such as WhatsApp or Facebook—they both have a clearly defined function, and that's why they appeal so much to their users.
To assist you in determining your purpose, ask yourself:
What am I attempting to fix with this app?
Why do I need to develop this app for my business or users?
Knowing the "why" lays the groundwork for all that comes next. Not only does it make the app development process easier, it can also decrease the overall cost and time of app building. Though there may be numerous reasons one might want to build an app, all great apps have something in common: value is delivered through a match between user need and business objectives. Before diving into development, set aside time to establish your top goal. Start by considering your end-users. At the end of the day, individuals care about how your app adds value to them. Regardless of channel—online or off—the users automatically wonder, "What's in it for me?" If your app isn't conveying obvious value in a matter of seconds, retaining users is a daunting problem.
A well-built mobile app can bring a lot of benefits to your business:
- ✅ Increased customer retention
- ✅ Lower costs of operation
- ✅ Higher ROI
- ✅ Better productivity
- ✅ Enhanced brand reputation and online visibility
If you're developing an app for your business, it’s worth asking yourself:
Which sector of my business would most greatly benefit from an app?
What particular issue will this app resolve?
What are the outcomes that I hope to gain by launching this app?
By answering these questions upfront, you set yourself up for a strategic and effective mobile app development process.
Step 2: Plan Your App Core Features and Functionality

Identify Key Features Your App Needs
This is one of the more imaginative steps in app building. Begin with a list of the necessary features and functionality that your app should possess to be able to cure the issue that you have uncovered and to create the outcome that you wish for. This is the foundation on which your Minimum Viable Product (MVP)—a simplified version of your app containing the features absolutely essential to its launching—will rest. To make your app unique, carry out extensive market research. Browse your competitors' apps on the App Store or Play Store, observe their sets of features, and search for gaps or where you can innovate.
Consider advanced features such as:
- Real-time tracking
- Payment gateway integration
- Facial recognition or detection
- Augmented Reality (AR)
For example, in our online party platform Veebo, we implemented AR face filters (like Snapchat) to heighten user interaction and provide a joyful, interactive experience amid the pandemic. If features like these optimize the user experience and provide answers well, they're an investment worth exploring for your app too.
Avoid Redundant Features Early On
Be careful not to over feature your app with functionality that doesn't provide value. Excess functionality not only makes the app bloated but also degrades performance and makes development more complex. Implement only features that contribute directly to the app's fundamental purpose . Begin by releasing a Minimum Viable Product to see how it fares. Get feedback from users, read reviews, and incrementally release more features based on actual user requirements. This not only reduces development costs but also enables you to deliver a better and more responsive user experience. By focusing early, your team can direct energy and resources toward creating what's most important. Refer to your feature list as a strategic roadmap as you proceed into development.
Example: Hotel Booking App
f you are developing a hotel booking app, your MVP might contain:
- Room listings with rich descriptions
- Filters by availability, price, or location
- Video reviews by previous guests
- One-click live support chat
- Push notifications for offers and promotions
- Room service information and reservation history
These options make users' lives easier and enrich the app experience, without confusing new users.
Step 3: Do Competitor Research

Begin by asking yourself some critical questions:
- What is the main objective of your app?
- Who are your target users?
- Is there actual demand for an app such as yours?
- Who are your primary competitors in the marketplace?
- What are the limitations or flaws in their apps?
- What business model will you use to achieve maximum ROI?
- How do you intend to monetize your app?
Studying competitors not only tells you what's already successful in the market but also lets you know where you can do better, whether it's by solving a pain point, providing a smoother experience, or bringing a unique feature. Oftentimes, achieving user insight requires going deeper than digital research—speak with actual users, research forums, or even try out rival apps yourself. The better you know your users and the market, the less you'll screw up along the way. Ultimately, good research enables you to build an app that's properly positioned, driven by a purpose, and competitive from day one
Step 4: Design Wireframes for Your Mobile App
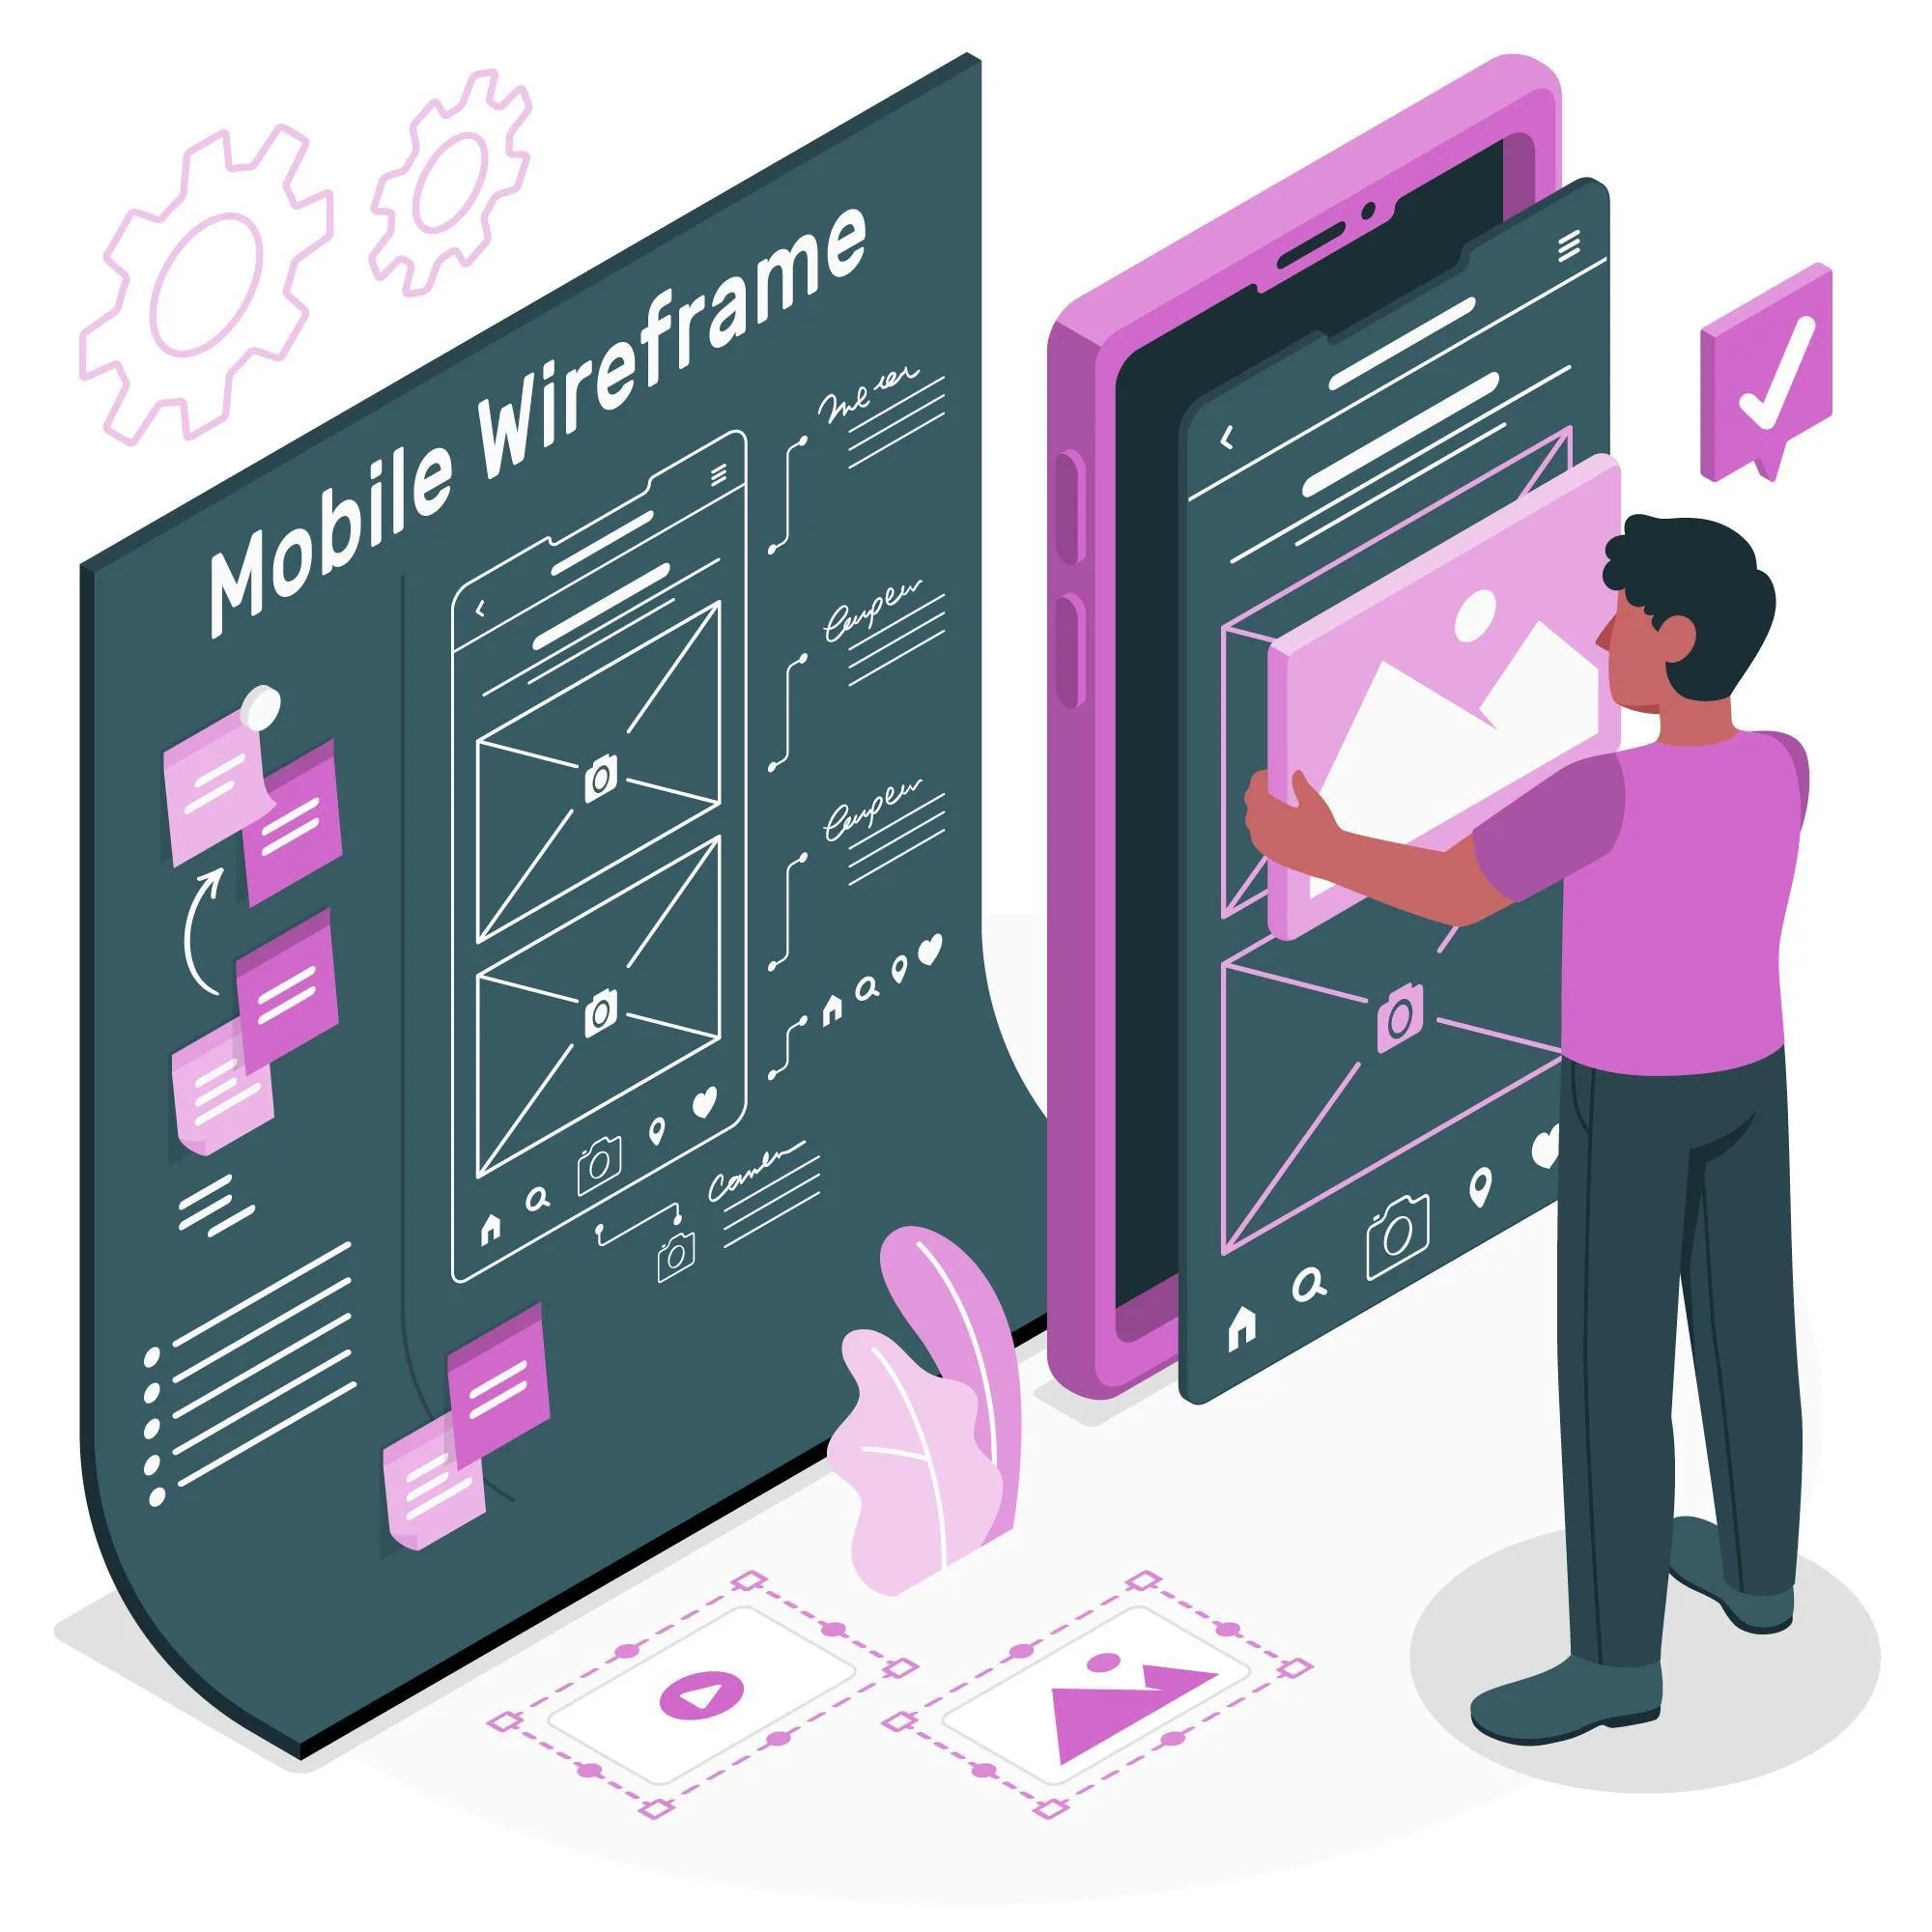
What Is Wireframing?
How to Make Wireframes
Methods to Create Wireframes
Offline Tools
Begin small by drawing your concepts on paper or employing printable sheets such as SneakPeekIt templates.
Online Tools
You can create interactive wireframes with tools such as Balsamiq, Adobe XD, NinjaMock, and Mockflow. Our designers at Rytsence Technologies frequently use Balsamiq and Adobe XD for wireframing. Prioritize the optimization of the number of screens and their flow so that the users can achieve their objectives without much resistance. You can even design various versions of screens for the same activity to identify which flow provides the most seamless user experience.
Test Your Wireframes
Step 5: Choose the Right Development Path
1. Native App Development
✅ Advantages:
- High performance
- Improved security
- Better user experience
❌ Disadvantages:
- iOS and Android development are separate
- Increased development and maintenance costs
Native development generally involves two distinct codebases and possibly two teams, which may add complexity and expense but provide unparalleled performance and UX.
2. Cross-Platform App Development
✅ Advantages:
- Shared codebase for iOS & Android
- Faster time-to-market
- Lower development cost
❌ Disadvantages:
- Minor performance lag relative to native apps
- Limited access to advanced device-specific features
This is perfect for startups or solo developers who want to achieve maximum reach without paying through the nose.
3. Low-Code/No-Code App Builders
✅Pros:
- No coding necessary
- Rapid development
- Ideal for MVPs and prototypes
❌ Cons:
- Limited flexibility
- Poorer security
- Performance issues with heavy-duty apps
We tried one of these free utilities and discovered that even a minimal WebView app blew up to 67MB, ran slowly, and contained watermarks—so be careful. These utilities work best for minor apps or business tools for in-house use but are not designed for highly personalized or performance-focused apps.
Select the Right Programming Language
Your development journey will determine which language you choose:
Android
Develop with Kotlin (Google-recommended) or Java in Android Studio.
iOS
Use Swift with Xcode. Although Objective-C is still supported, Swift is simpler and more recent. For cross-platform frameworks, just do what they document—many of them use JavaScript, Dart, or TypeScript, depending on the framework.
Step 6: Develop Your Mobile App
Step 7: Launch Your Mobile App on the App Stores
Step 8: Promote and Market Your Mobile App
While large corporations may have huge budgets for promotion, if you're new to the scene, you can start by asking yourself three important questions:
- What is the issue my app addresses?
- Who are my target users?
- How can I best reach those users?
- There are lots of simple and affordable ways to get the word out about your app.
- Showcase a banner on your website to highlight your app and motivate visitors to check it out.
- Write and publish a standalone blog post announcing your app
- Send a friendly email to your existing customers to let them know about your new app and how it can help them.
- Make interesting social media posts or videos for channels like Facebook
- Post demo videos on YouTube
- Share updates and tweets on Twitter to get the word out about your app.
After having started these practices, ensure to track KPIs (Key Performance Indicators) to assess your marketing activity and refine them for improved output. Also, collaboration with influencers to highlight your app in pictures, reviews, or videos on their websites will help raise high visibility and downloads considerably. Curious about what happens after your app is launched? In the next section, we'll guide you through the important next steps to continue the momentum.
Step 9: What Are the Key Requirements for Building an App from Scratch?
Define Your Vision and Audience
Have a crystal-clear vision of your app's purpose, the issues it addresses, and who your target users are. Define your unique selling proposition—what sets your app apart in a crowded market.
Select the Right Development Partner
Work with a seasoned development team or firm experienced in your target platform and desired functionality. Seek a track record of delivering high-quality apps on time and within budget.
Plan Your Monetization Strategy
Determine how your app will make money—whether through in-app purchases, subscriptions, advertising, or a freemium model. Your approach should be consistent with your target users and business objectives.
Prioritize Exceptional UI/UX
A clean, visually pleasing, and intuitive interface is crucial. Consider bringing on a talented UI/UX designer to design an engaging and seamless experience for your users.
Make Sure Regulatory Compliance
If your application deals with sensitive information—personal health data or financial transactions—you will need to abide by the appropriate regulations like HIPAA or GDPR, based on your geography and app category
Optimize for Performance
Your application needs to be quick, responsive, and stable on different devices and network conditions. Optimize performance to provide a seamless experience, even under high usage.
Set Up Robust Backend Infrastructure
Most applications need a solid backend—servers, databases, APIs, and so forth—to run. Have a strategy for developing, scaling, and keeping this infrastructure up over the long term.

The Author
Ramkumar Pichandi
Founder,Rytsense Technolgies
I’m a founder who builds for one reason → To solve real bottlenecks with real technology.